Week 9: Networking Part 1
It was a bit of a disapointing week for me because of a struggle with both my ItsyBitsy and ATSAMD11. My hope for this weekend was to build a simple intercom/wireless microphone set up that would let one chip recieve audio, output it as an anolog signal, and send back another monitor signal which could be routed to headphones. I enjoyed exploring the RF24Audio library by TMRh20 which makess two way audio transfer relatively easy.
I'm going to try using a PC in the hope that I will be able to get the Itsybity and its ADC up and running!
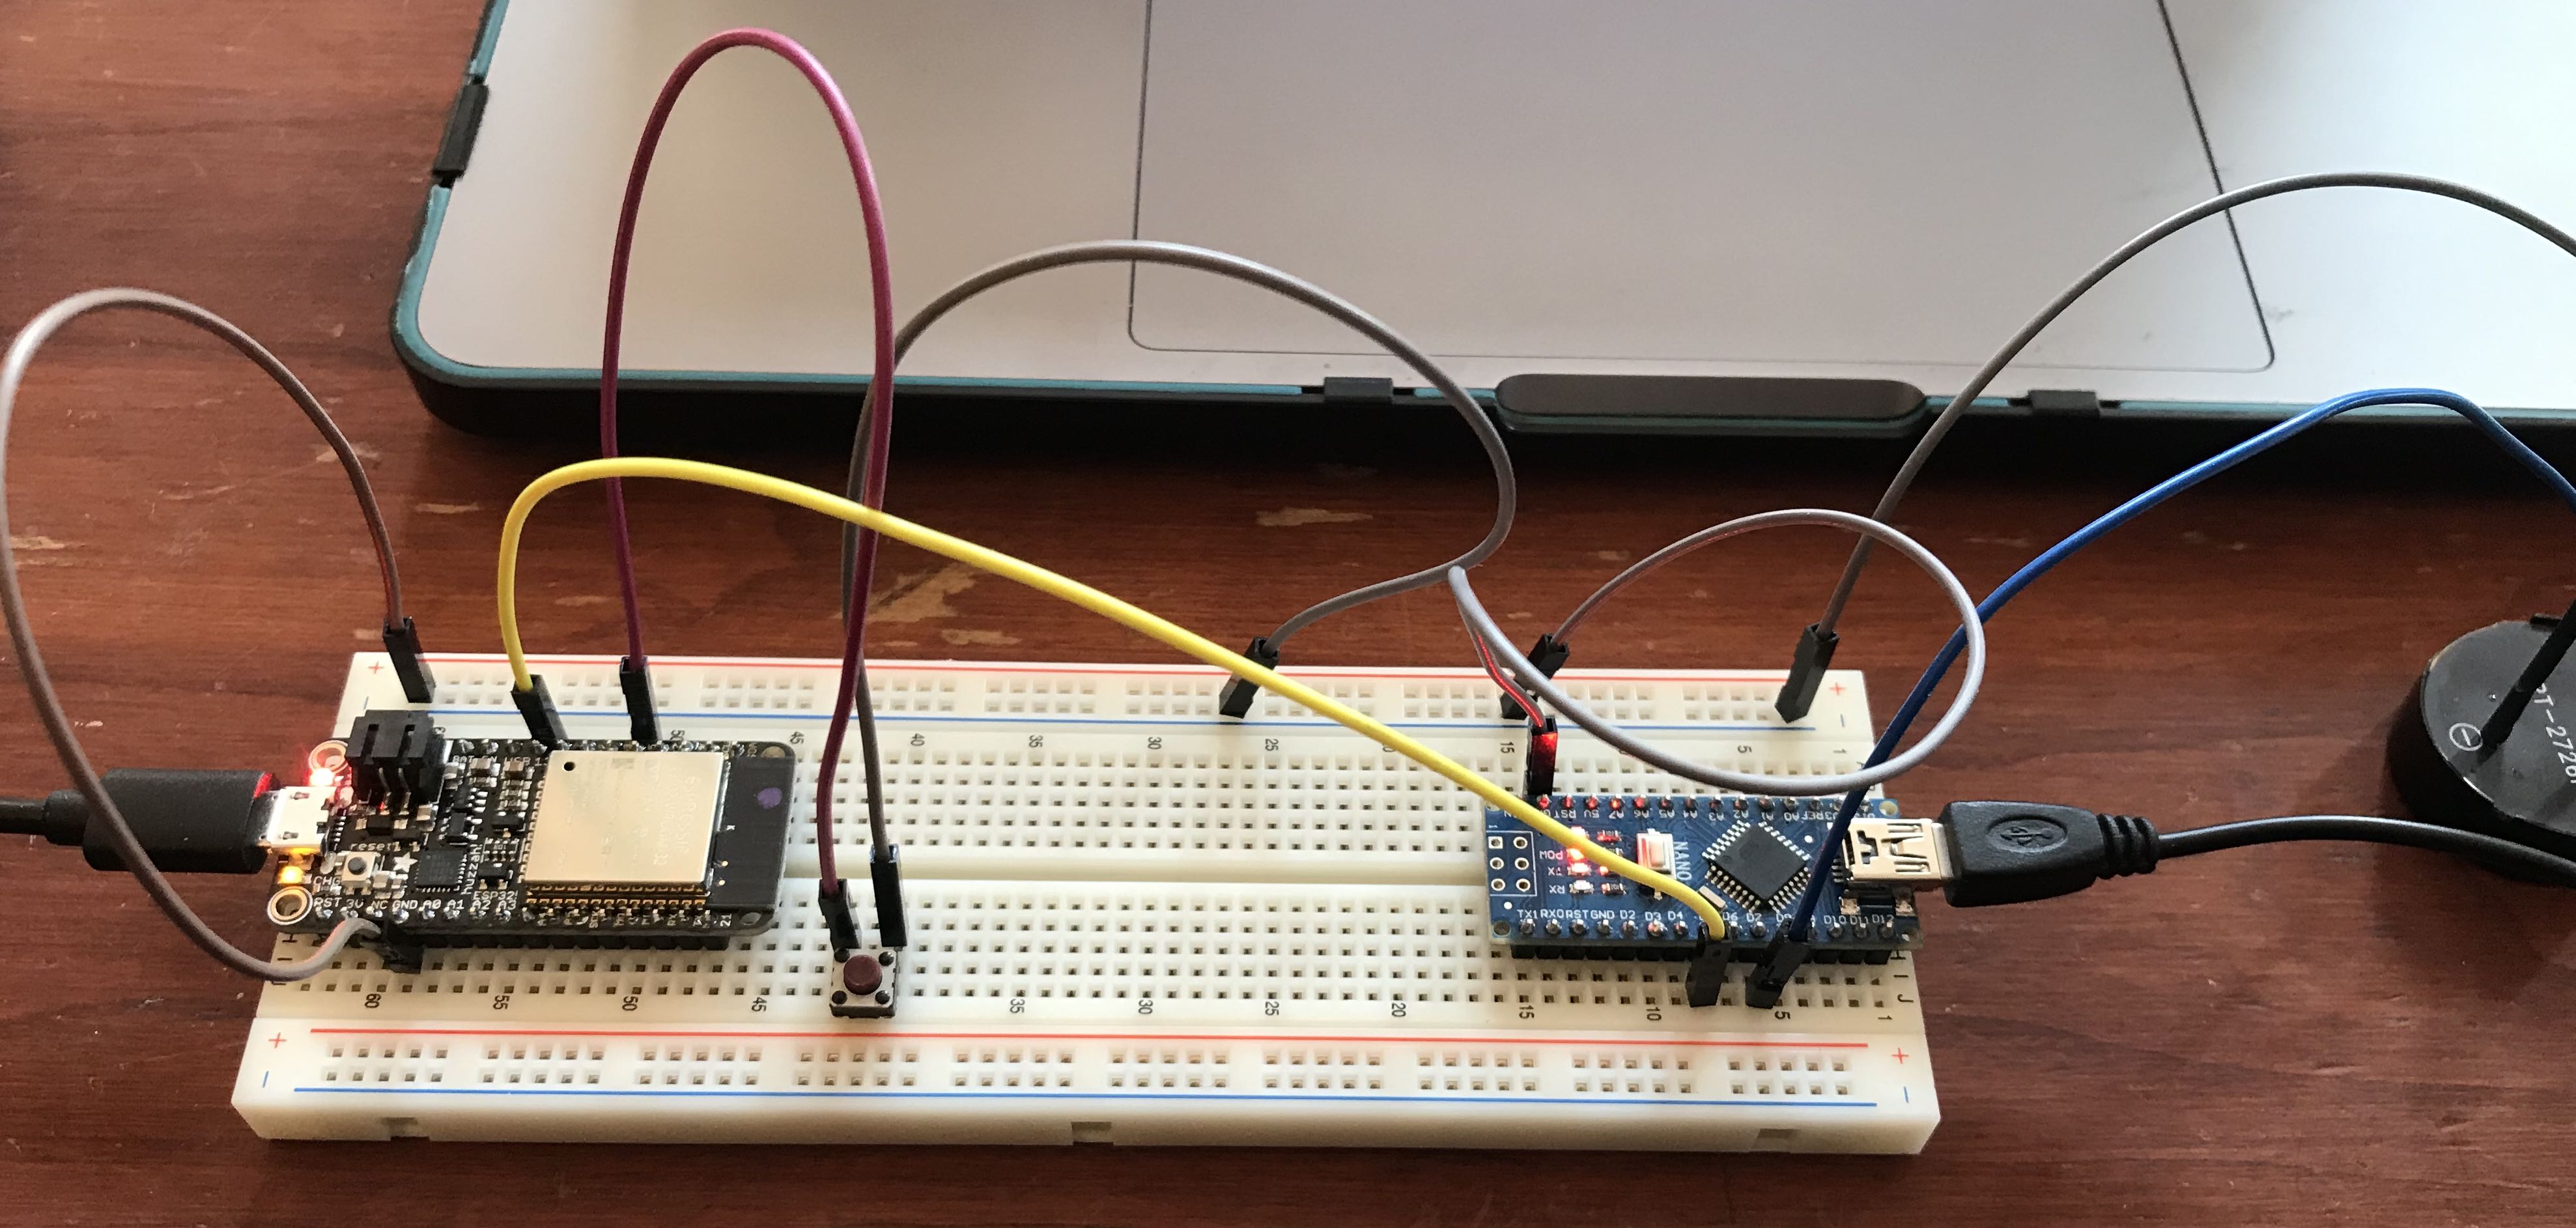
To practice getting microcontrollers talking to each other, I used Rob's code to send a buttonState from the Feather to my Nano, which, which played a tone when the button was pressed.
The transmitter code is as follows.
        const int out_pin = 13;     //naming my pin to send signal to the nano
const int button_pin = 15;  //naming my pin to recieve the button press

void setup() {
  pinMode(button_pin, INPUT_PULLUP);  //setting up the pin the read the button state and include the built in pullup resistor
  pinMode(out_pin, OUTPUT);           //setting up the pin to send signal to the nano

  Serial.begin(9600);
}

void loop() {
  int buttonState = digitalRead(button_pin);
  Serial.println(buttonState);
  digitalWrite(out_pin, buttonState);         //sending the button state to the nano
  delay(10);
  }
The reciever code is as follows.
int val = 0;

void setup() {
  pinMode(5, INPUT_PULLUP); //setting pin 5 to recieve input from the Feather
  pinMode(7, OUTPUT);       //setting pin 7 to send signal to the buzzer
}

void loop() {
  val = digitalRead(5);     //read the value of the signal
  if (val == LOW){          //if the button is pressed...
    tone(7, 440);           //play an "A"
      }

  else {                    //if the button is not pressed...
    noTone(7);              //don't!
  }
}